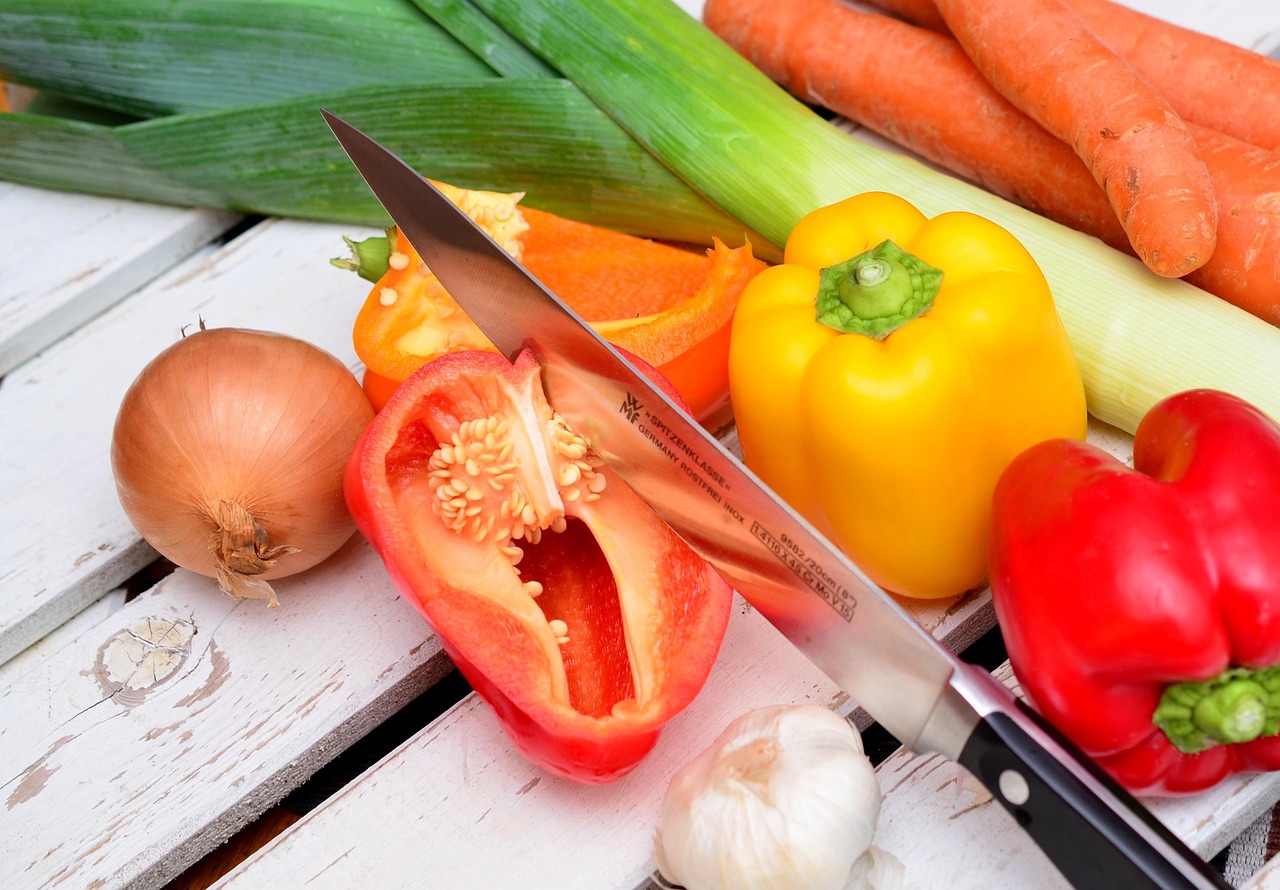
If you’ve ever watched a chef on TV chop an onion in about five seconds flat while you’re still crying over yours ten minutes later — this blog is for you.
Knife skills are one of those things that nobody really teaches you. You just kind of pick up a knife one day and start hacking away at vegetables like you’re trying to survive in the wilderness. But here’s the thing: learning how to properly use a knife doesn’t just make cooking faster. It makes it safer, more enjoyable, and honestly, the food even tastes better when it’s cut properly.
Let’s break it down from the very beginning.
Why Knife Skills Actually Matter
Before we get into the how-to part, let’s talk about the why.
Speed. A cook who knows how to use a knife spends half the time prepping compared to someone who doesn’t. That means less time standing at the counter and more time actually enjoying your meal.
Safety. This one surprises people, but a sharp knife used correctly is far safer than a dull one used carelessly. Dull knives require more force, and when that force slips — that’s when accidents happen.
Even cooking. When your vegetables are all cut the same size, they cook at the same rate. No more having some pieces burnt and others still raw in the same pan.
It just feels good. There’s something deeply satisfying about clean, confident cuts through fresh produce. Once you get it, you’ll look forward to prep time instead of dreading it.
The Right Knife for the Job
You don’t need a drawer full of expensive knives. In fact, most home cooks can get by beautifully with just two or three.
The Chef’s Knife (8–10 inches) This is the workhorse of the kitchen. It handles about 80% of all cutting tasks — chopping, slicing, dicing, mincing. If you only buy one knife, make it a good chef’s knife. You don’t need to spend a fortune, but don’t go too cheap either. A mid-range knife that feels comfortable in your hand will serve you well for years.
The Paring Knife (3–4 inches) This small knife is perfect for tasks that need more precision — peeling fruit, deveining shrimp, cutting small things that are tricky to handle with a bigger blade. Think of it as the chef’s knife’s little helper.
The Serrated Bread Knife Don’t use your chef’s knife on bread. The serrated edge of a bread knife is specifically designed to saw through crusty loaves without crushing them. It’s also great for tomatoes and citrus fruits.
That’s it. Start there. You can always add more later, but these three will cover almost everything a home cook needs.
Keep That Knife Sharp
Here’s a truth that most home cooks don’t want to hear: your knife is probably dull, and that’s making your cooking harder than it needs to be.
A sharp knife glides through food. A dull knife pushes and squishes and slips — and that’s dangerous.
How to tell if your knife is dull: Try slicing a ripe tomato without pressing hard. If it squishes instead of slices cleanly, your knife needs sharpening.
Honing vs. Sharpening — what’s the difference?
These two words get mixed up all the time.
Honing is what you do regularly — it realigns the microscopic edge of your knife blade. You do this with a honing steel (that long rod that usually comes in knife sets). Run your knife along it a few times before each cooking session. It only takes about 30 seconds and keeps your knife performing well between sharpenings.
Sharpening actually removes a tiny bit of metal to create a new, sharper edge. You should do this every few months depending on how often you cook. You can use a whetstone at home (there are plenty of great YouTube tutorials), or simply take your knife to a professional sharpener. Many kitchen stores and butchers offer this service for just a few dollars.
A knife that’s properly maintained will serve you for decades.
How to Hold a Knife (The Right Way)
This is the part most people skip — and it’s the part that makes the biggest difference.
Most people grip a knife by the handle, like they’re holding a hammer. That works, but it’s not ideal for control.
The pinch grip is what professional cooks use. Here’s how it works:
- Grip the blade itself — yes, the blade — between your thumb and the side of your bent index finger, right at the point where the blade meets the handle (this area is called the bolster).
- Wrap your other three fingers around the handle.
At first this feels weird and maybe a little scary. But pinching the blade gives you dramatically more control over the knife. You’re steering it from much closer to the cutting edge.
Give it five minutes of practice and you’ll never go back.
The Claw Grip — Protecting Your Fingers
Now let’s talk about your other hand — the one holding the food.
This is where most cutting accidents happen.
The trick is something called the claw grip. Curl your fingertips under so that your knuckles are sticking out forward. Your knuckles act as a guide for the blade, and your fingertips stay safely tucked out of the way.
As you cut, your guiding hand slowly “walks” backward, moving the food into position for the next slice. The blade of the knife never rises above your knuckles.
It takes a little getting used to, but once it becomes habit, you’ll cut with complete confidence — no more wincing with every chop.
Basic Cuts You Need to Know
Here’s where it gets fun. Let’s walk through the most common cuts used in everyday cooking.
Slice
The most basic cut. You’re simply moving the knife in one smooth motion from heel to tip (or tip to heel) through the food. The key is to use the full length of the blade rather than just pushing straight down. Let the knife do the work with a gentle rocking or sweeping motion.
Use it for: onions, carrots, mushrooms, meat, bread.
Chop
Chopping is a bit more casual than slicing. You’re cutting food into rough, similar-sized pieces without worrying too much about perfect uniformity. Keep the tip of the knife on the cutting board and use it as a pivot point, rocking the blade up and down while moving the food under it.
Use it for: herbs, garlic, nuts, roughly cut vegetables for soups or stews.
Dice
Dicing means cutting food into small, uniform cubes. The classic way to dice an onion, for example, is to make horizontal cuts, then vertical cuts, then slice across — and you get perfect little squares. The three sizes you’ll hear about are large dice (about ¾ inch), medium dice (about ½ inch), and small dice (about ¼ inch).
Use it for: onions, peppers, celery, potatoes, any vegetable going into a stew or sauce.
Julienne
Also called a “matchstick” cut. You’re cutting food into long, thin strips — roughly 2–3 inches long and about 1/8 inch thick. Start by squaring off your vegetable, then slice it into thin planks, and stack those planks to cut into sticks.
Use it for: carrots, zucchini, bell peppers, cucumber — great for stir-fries and salads.
Chiffonade
This is a beautiful cut specifically for leafy herbs and greens. Stack the leaves on top of each other, roll them into a tight cylinder, and then slice across the roll to create thin, ribbon-like strips. It looks elegant and professional.
Use it for: basil, mint, spinach, sage.
Mince
Mincing means cutting something into the tiniest possible pieces. Usually done with garlic or fresh herbs. Make your rough chop first, then keep going over the pile with your knife in a rocking motion until everything is finely chopped.
Use it for: garlic, ginger, chili peppers, fresh herbs.
Choosing the Right Cutting Board
Your cutting board matters more than you might think.
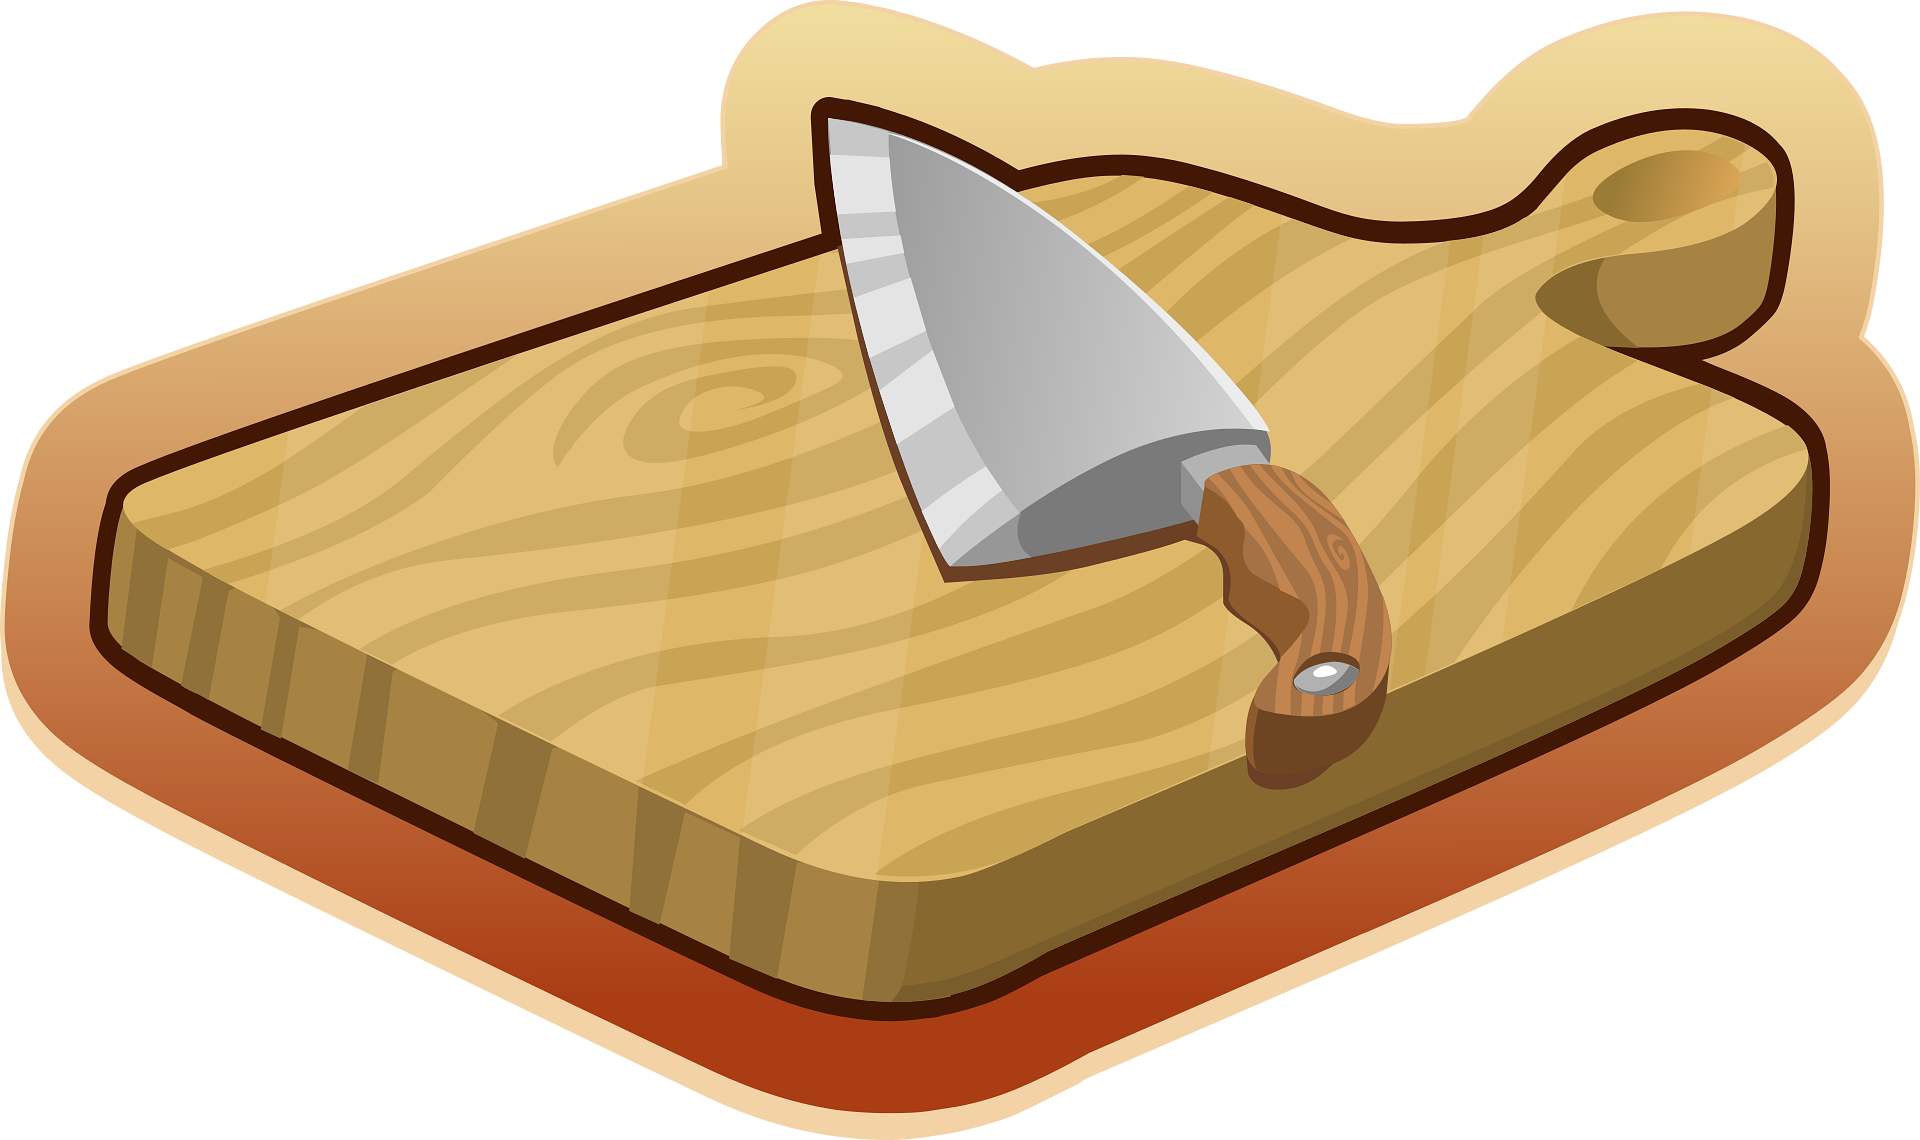
Wood and bamboo boards are gentle on your knife’s edge and are the preferred choice of most professional cooks. They’re beautiful, durable, and with proper care (oil them occasionally, wash them by hand), they last for years.
Plastic boards are fine for everyday use, especially for raw meat and fish since they can go in the dishwasher. Make sure to replace them when they get heavily scratched, as bacteria can hide in the grooves.
Avoid glass and ceramic boards entirely. They look nice, but they will destroy the edge of your knife very quickly. No professional cook uses them.
One more tip: put a damp towel underneath your cutting board so it doesn’t slide around while you’re cutting. This simple trick immediately makes cutting safer.
Common Mistakes to Avoid
Now that you know the basics, let’s look at the habits that hold most home cooks back.
Using a dull knife. We’ve covered this, but it bears repeating. Sharpen your knife. It’s the single biggest improvement you can make.
Lifting the entire knife up and slamming it down. This is choppy (pun intended) and imprecise. Let the tip or heel of the knife stay in contact with the board and use a smooth rocking motion instead.
Looking away while cutting. Sounds obvious, but kitchens are busy and distracting. Keep your eyes on what you’re cutting.
Cutting food that can roll. Always create a flat surface first. If you’re cutting a carrot or a potato, slice off one side to create a stable base before proceeding. Round things that roll are a hazard.
Not keeping up with your scraps. Keep a bowl nearby for vegetable scraps so you’re not working around a cluttered board.
Putting your good knife in the dishwasher. The heat and rattling will damage both the blade and the handle. Always hand-wash your knives and dry them immediately.
A Quick Practice Routine
The best way to improve knife skills is simply to use your knife. Here’s a simple practice routine to build your confidence: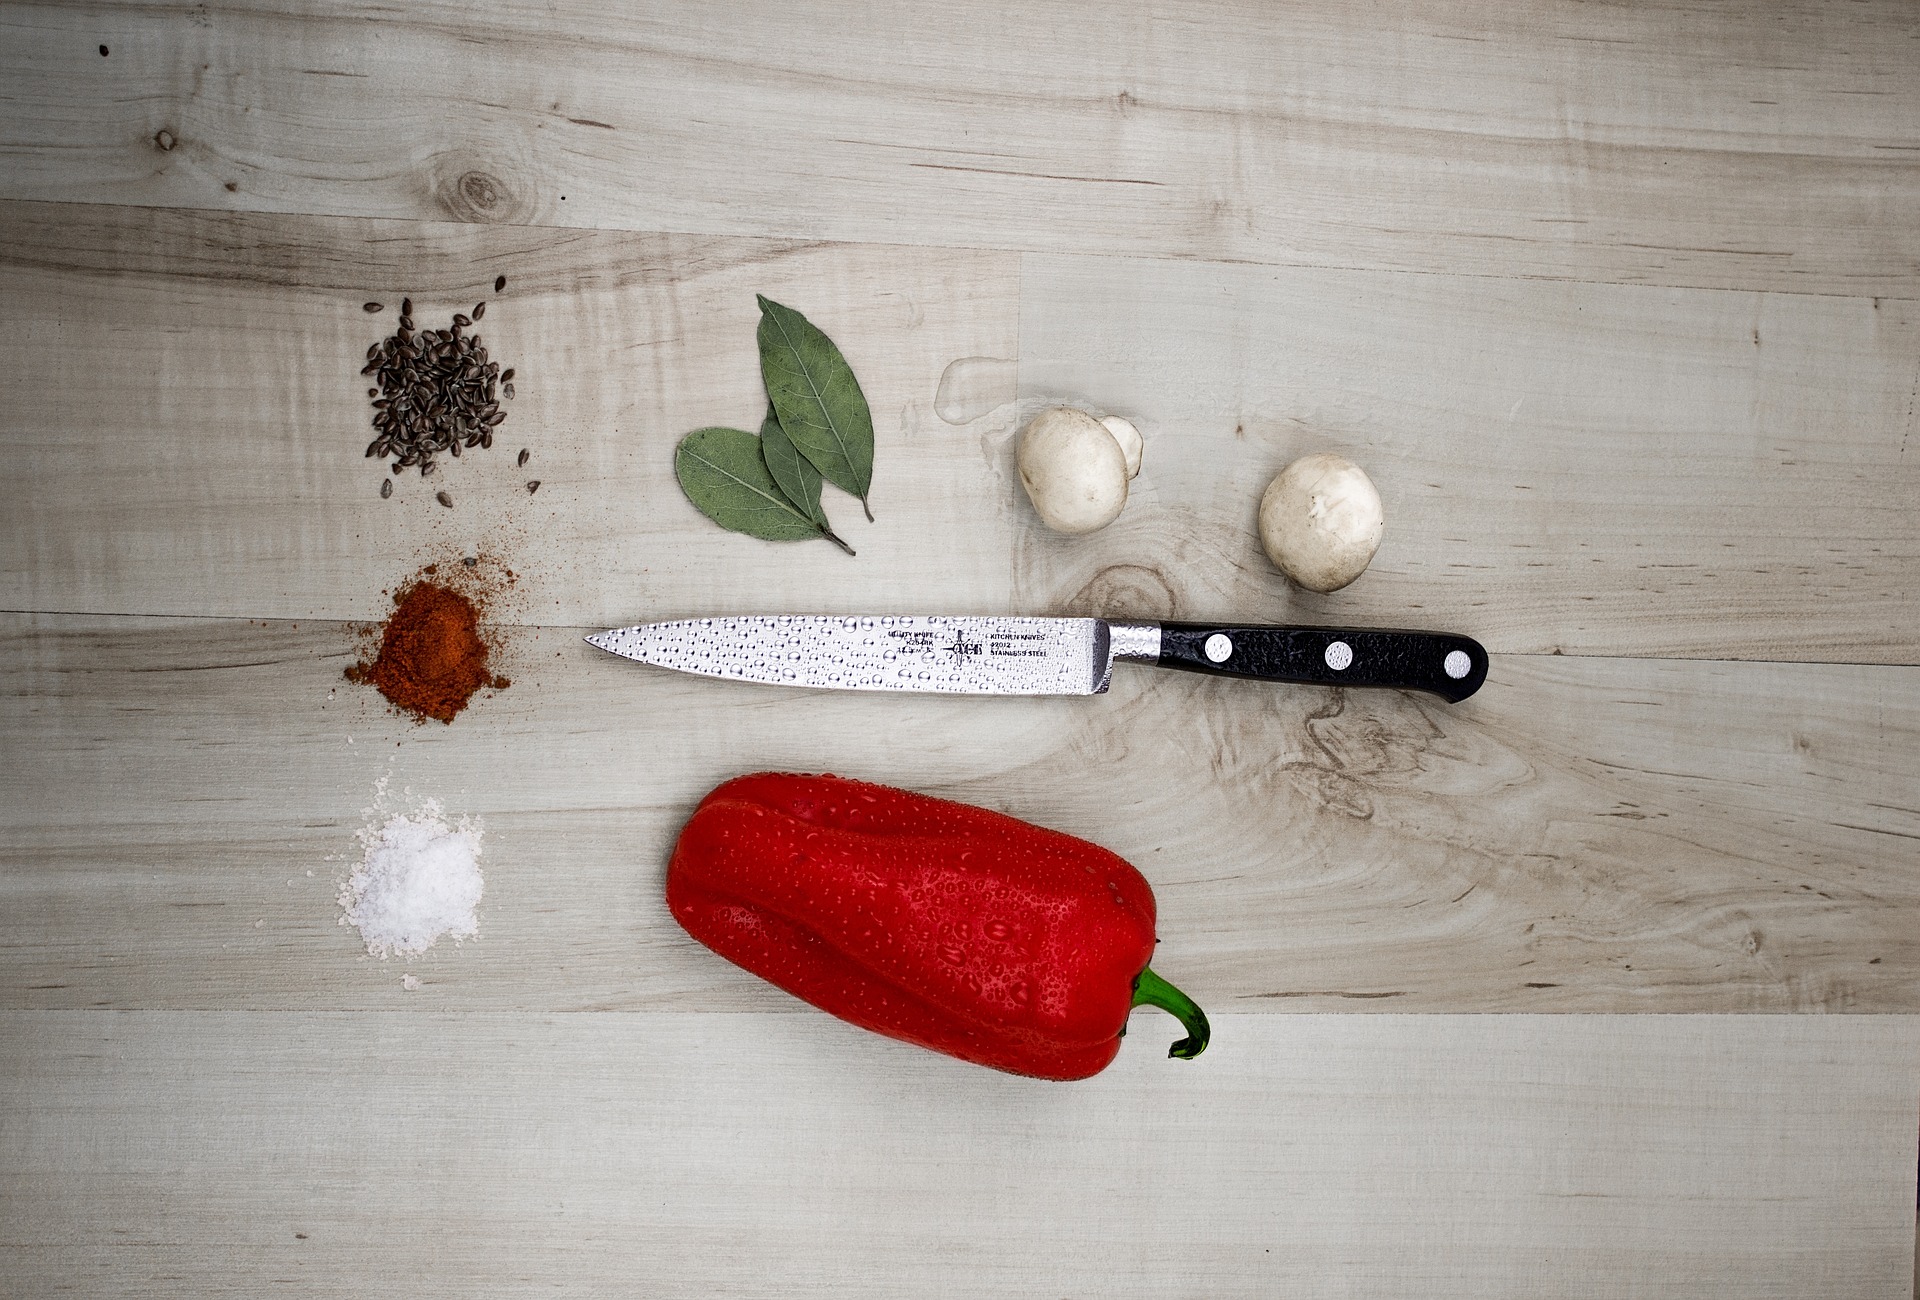
- Monday: Practice the pinch grip and claw grip while slicing an onion slowly and deliberately.
- Wednesday: Dice three or four carrots into medium dice, focusing on keeping pieces uniform.
- Friday: Mince a head of garlic and chiffonade a bunch of fresh basil.
Do this for a few weeks and you’ll notice real improvement. You’ll get faster, more controlled, and much more comfortable in the kitchen.
Final Thoughts
Knife skills are one of those foundational things that quietly improve every single thing you cook. You don’t need to go to culinary school or watch hours of advanced tutorials. You just need the right technique, a little practice, and a sharp knife.
Start slow. Be deliberate. Focus on control before speed — speed will come naturally over time. And please, please keep your knife sharp.
The kitchen becomes a much more enjoyable place when you’re not fighting your tools. With solid knife skills, you’ll move through prep work with confidence, cook more often because it doesn’t feel like a chore, and honestly — your food will be better for it.
Now go grab that chef’s knife. You’ve got some chopping to do.
Happy cooking!